From one door to your own toolpaths.
Six short paths: two to get cutting, four to make it yours — your own profiles, patterns, door styles and toolpaths. Dialog names and defaults are the ones you see in Fusion.
Eight short videos, one idea each.
Each one plays right here, with captions. Same dialogs, same defaults as in Fusion.
One door
Your first door in Fusion, with its toolpaths, in a few minutes.
Watch tutorial 01: Build your first door (1:28)- 1In the Design workspace, open the SOLID tab and click Build Doors in the Kerf Doors panel.
- 2Leave Operation Mode on Single door. Type Width and Height in mm (600 × 800 by default), Thickness 18 mm, Groove Offset 50 mm.
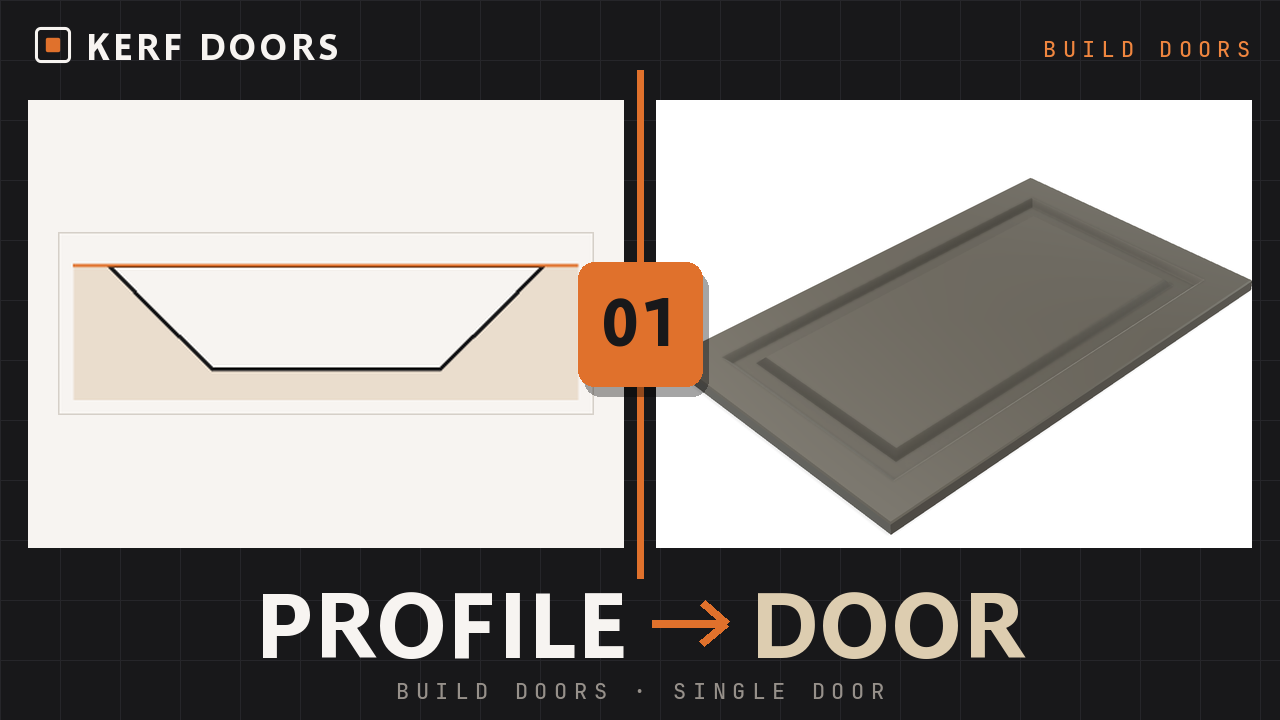
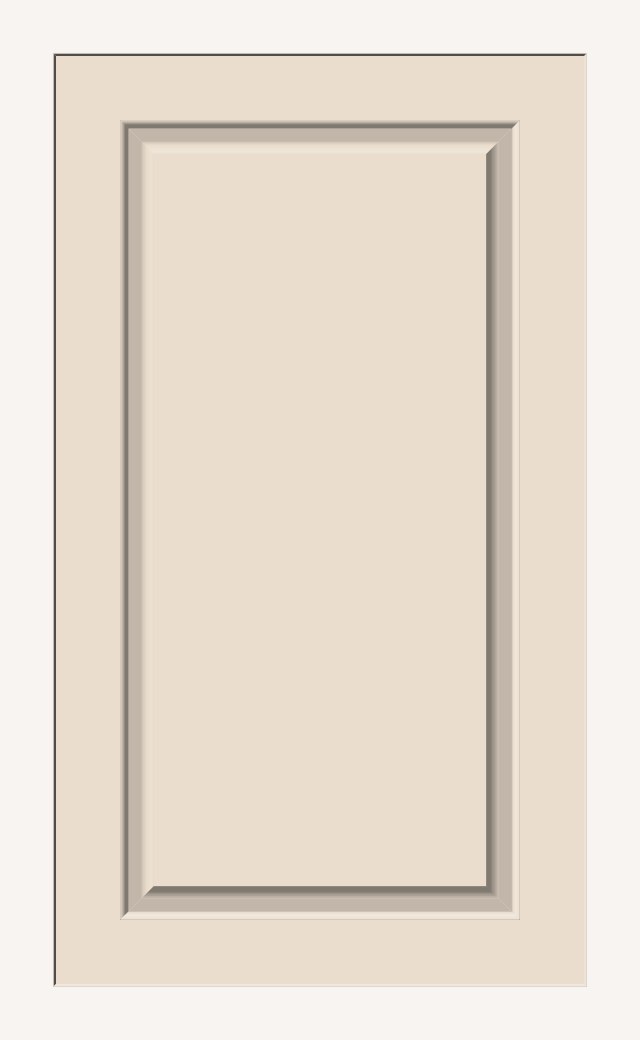
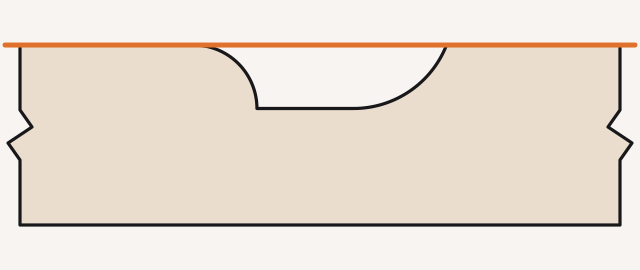
- 3Pick a design in Select Profile, say 101-BeadCove. The picture shows it in section; the Design line gives the groove size, a flush or recessed centre panel, and the chamfer.
- 4Leave CAM on Automatic toolpaths and click OK. The door is modelled and its setup is waiting in Manufacture.
- 5In Manufacture → Milling, click Post G-code, tick the setup and pick your post processor.
An order
A whole kitchen from a table or your spreadsheet: nested, with toolpaths and G-code.
Watch tutorial 02: Build a whole order (1:36)- 1Open Build Doors, switch Operation Mode to Batch order, choose (new order) and name it.
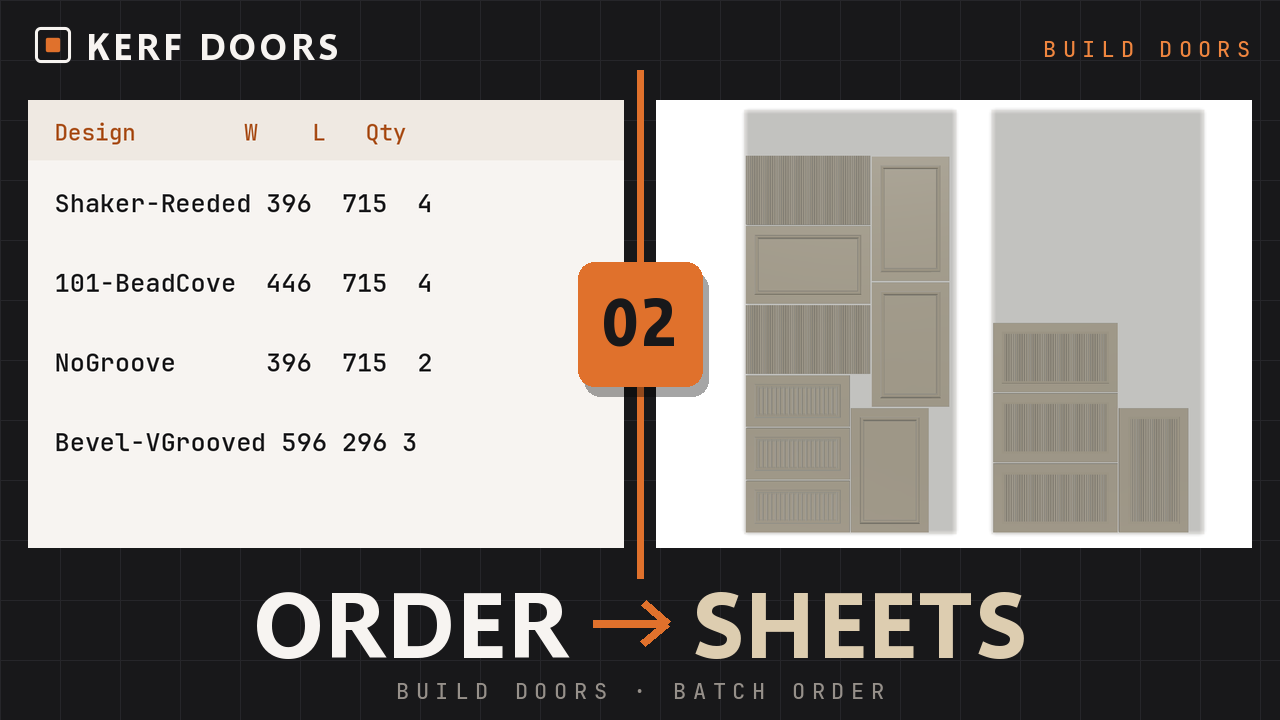
- 2Fill the Doors table — design or recipe, width, length, quantity, thickness, offset, chamfer, CAM template, pattern — or click Load CSV / Excel.
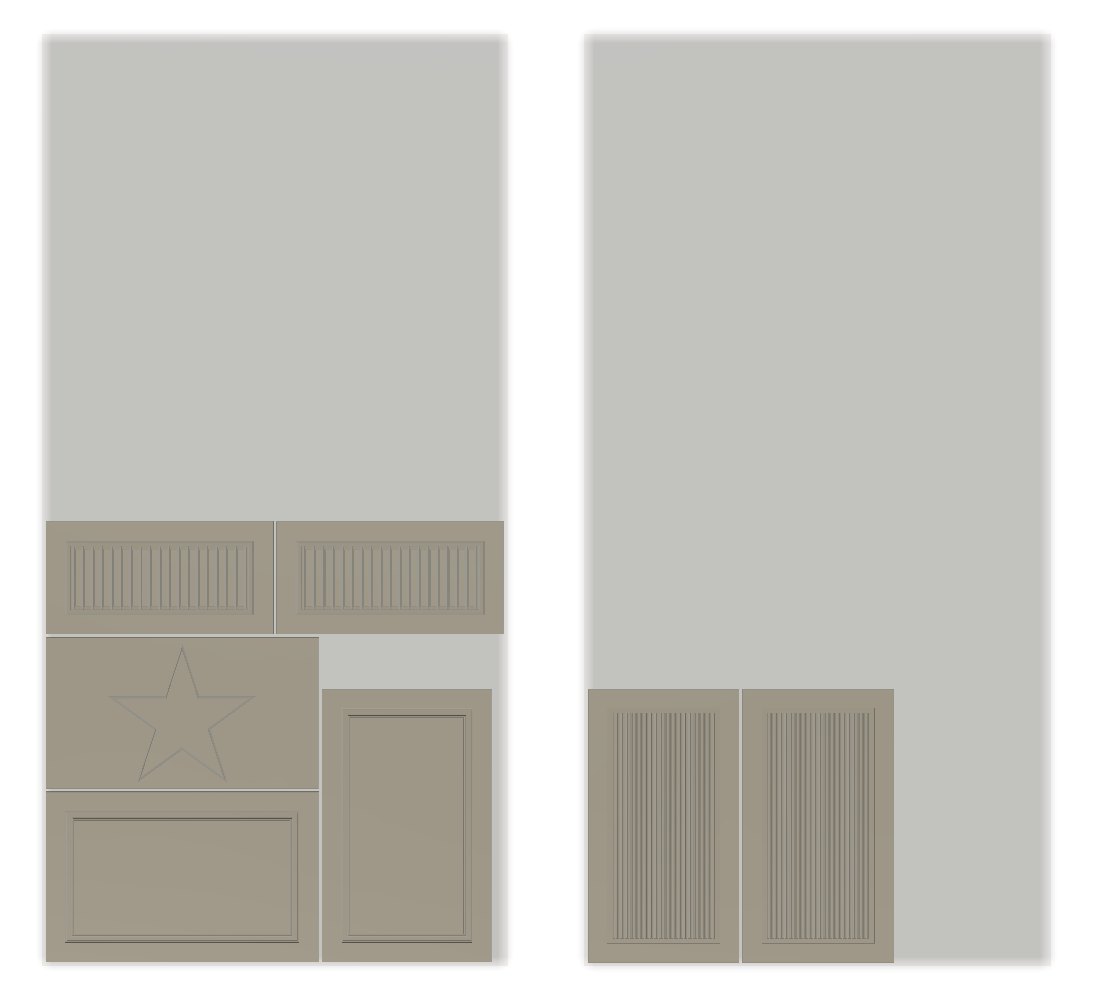
- 3Check the sheet: 1220 × 2440 mm, 10 mm margin, 8 mm gap, 90° rotation on. Machine zero defaults to the lower-left corner, top of sheet.
- 4Leave Create CAM setups and Post G-code ticked, choose the post processor, click OK. One progress bar, with Cancel.
- 5Save order keeps it by name as plain CSV — it reopens here and still opens in Excel. The G-code waits in Downloads/KerfDoors/.
Your own groove profile
Draw the cross-section once in Fusion. Every door size follows it.
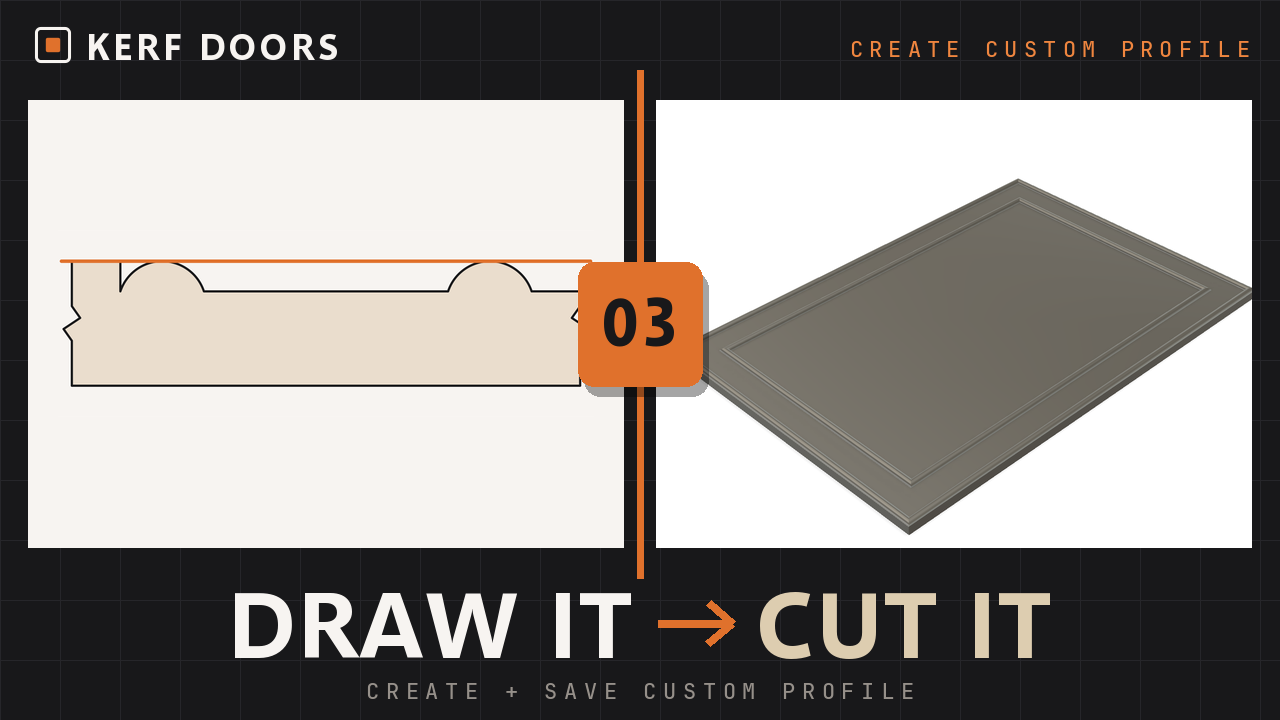
Watch tutorial 03: Draw your own groove profile (1:18)- 1Click Create Custom Profile. Kerf Doors opens a guide sketch in Fusion — the door surface line, the sweep-path point, the axes — and an empty sketch.
- 2In the empty sketch, draw the groove's cross-section as one closed shape with Fusion's own sketch tools.
- 3Click Save Custom Profile. It checks the shape — one closed loop, a straight top edge — builds the door live while the dialog is open, and reads whether the centre panel is recessed.
- 4Set its offset (0 = the groove starts at the door edge), chamfer and thickness; they are remembered with the profile.
- 5Save. The profile and its machining recipe join every list like a built-in one.
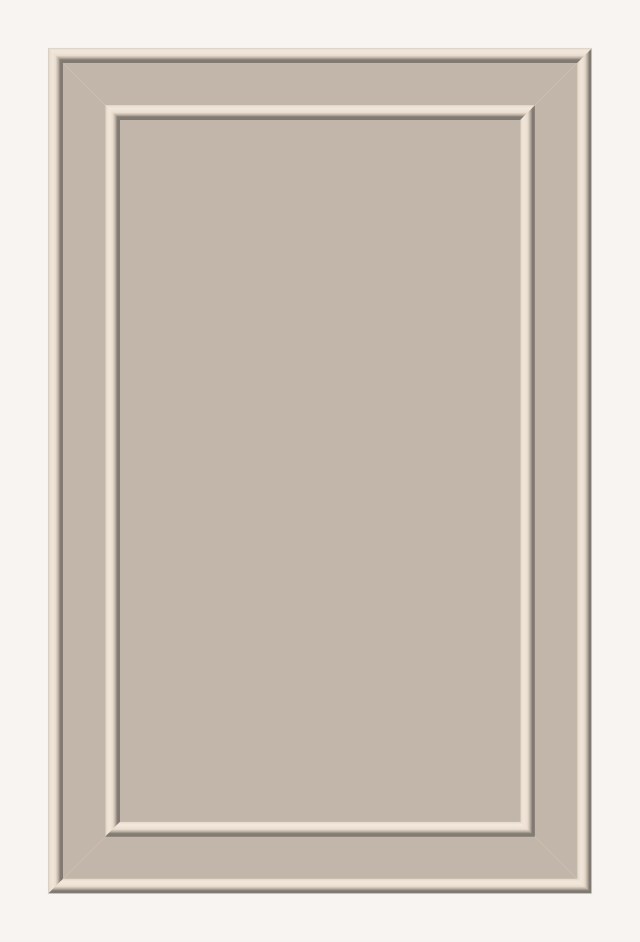
Your own centre pattern
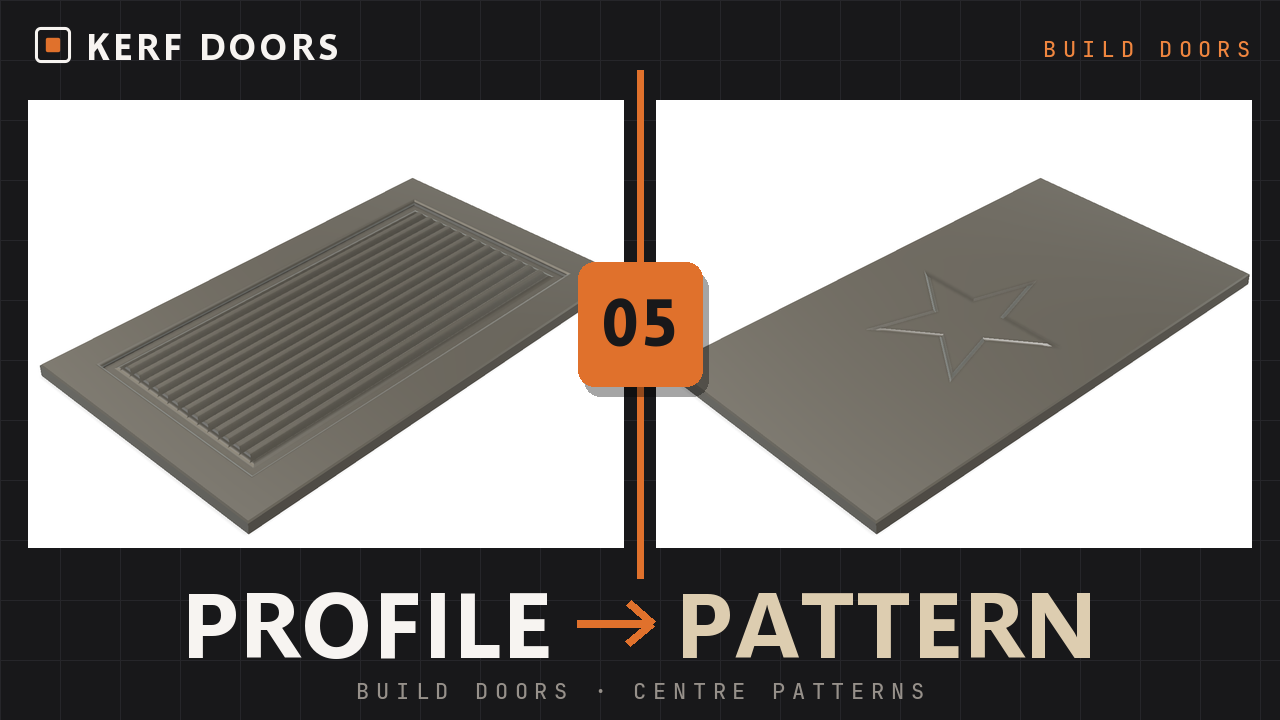
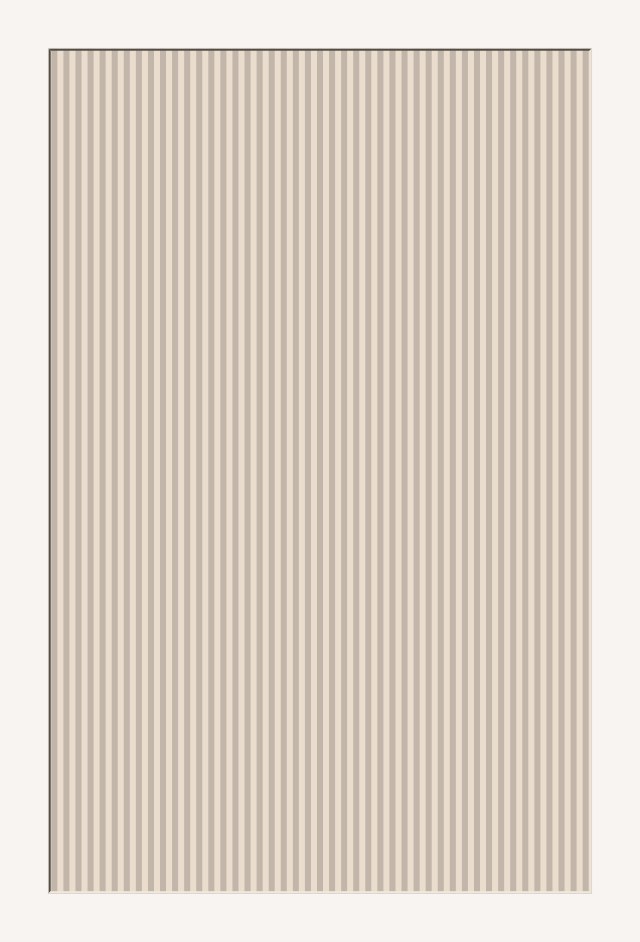
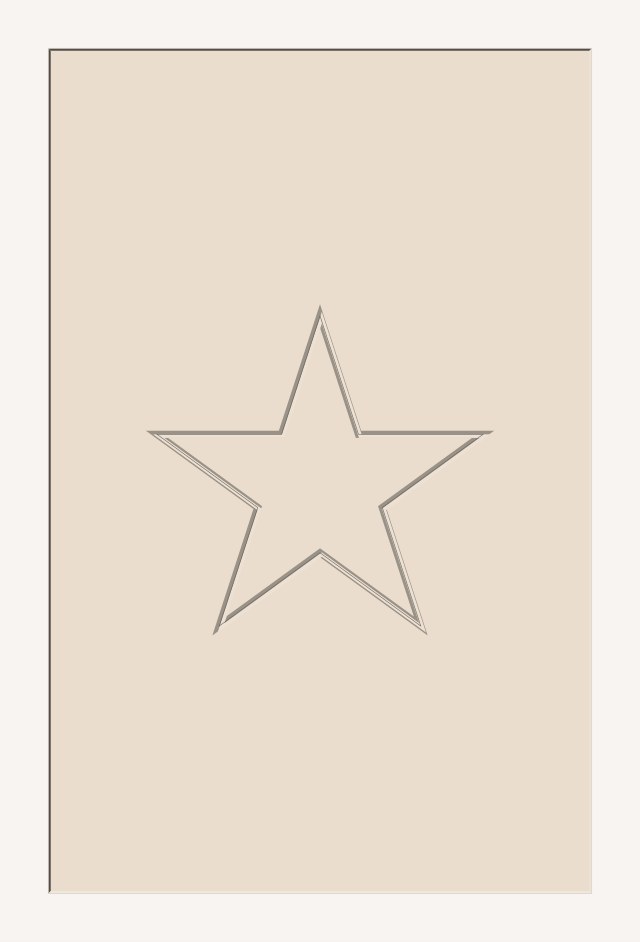
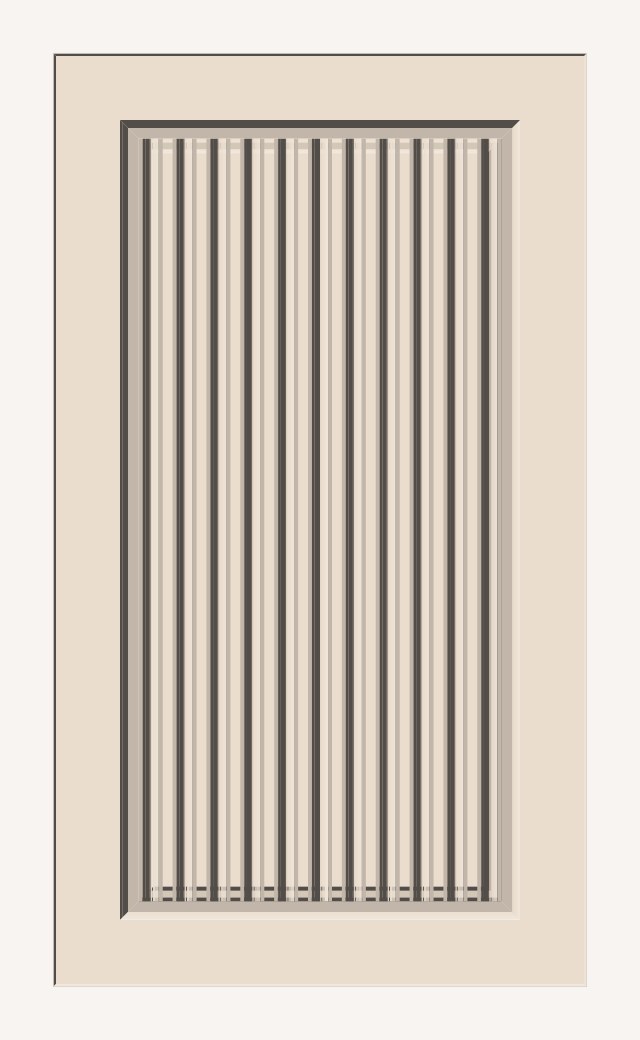
Reeds, flutes, V grooves, slots — or a star or a monogram, engraved.
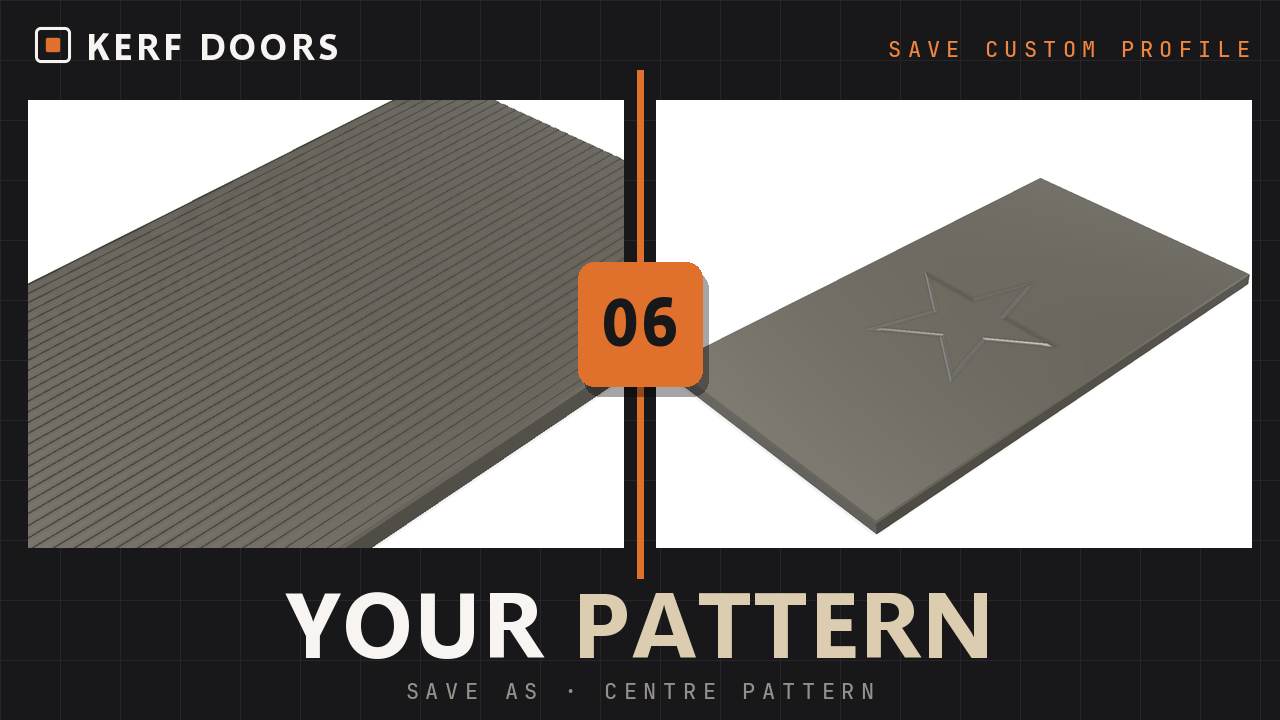
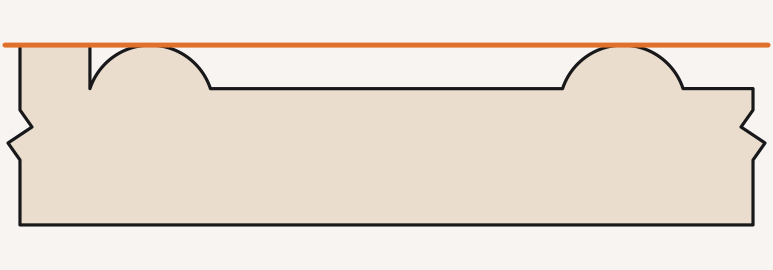
Watch tutorial 06: Create your own centre pattern (1:03)- 1For a line pattern, draw one repeat of its section the way you draw a groove: a reed, a flute, a V, a slot, anything.
- 2For a shape, draw any drawing — a star, a monogram. It is engraved along its lines with a V-bit or a ball; its depth follows from the groove width.
- 3In Save Custom Profile, set Save as: Centre pattern. The dialog shows which cutters will cut one repeat.
- 4On a door, set the gap to the main groove (negative runs it into the groove), the spacing and the direction.
- 5Use it on any grooved door — or on NoGroove to cover the whole door.
Your own door style
Save the whole door as a recipe and order it by name.
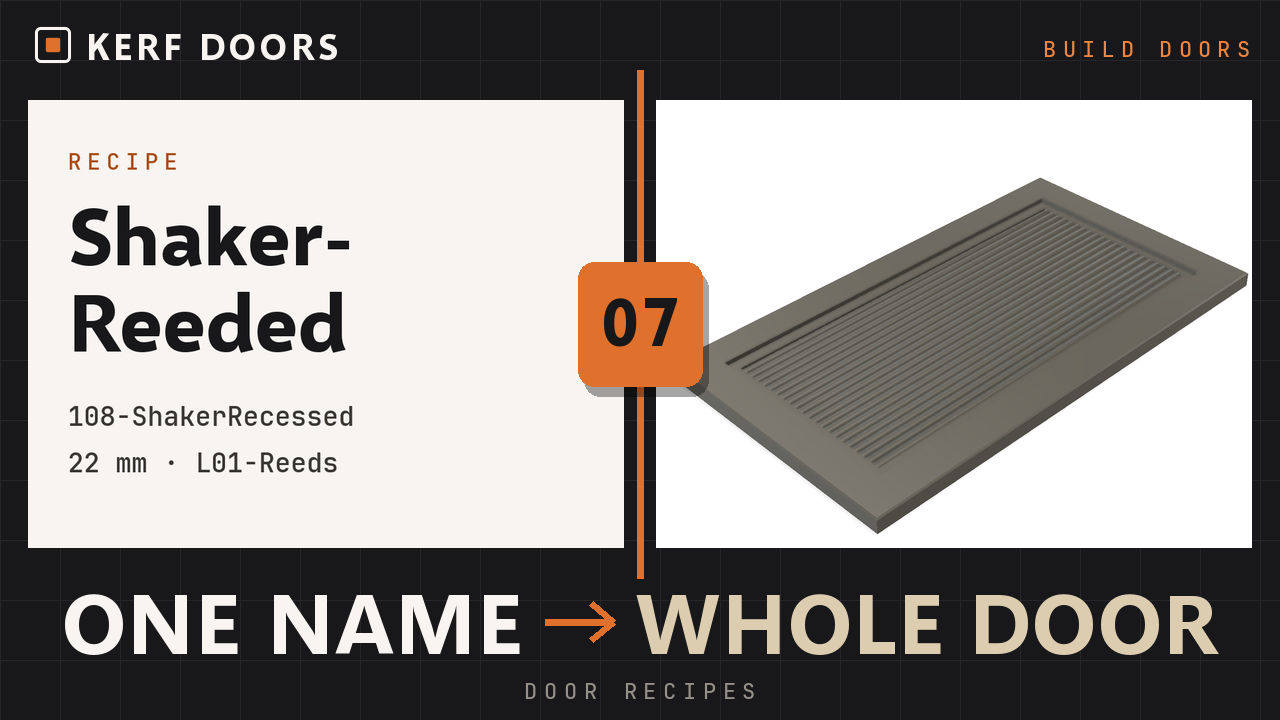
Watch tutorial 07: Door recipes: a profile and a pattern under one name (0:58)- 1Set a door up the way your shop makes it: profile, offset, chamfer, board thickness, pattern with its values, CAM template.
- 2Save it as a recipe, under one name.
- 3In an order, choose the recipe in the design column, like any design.
- 4Any cell you fill in on that row still wins over the recipe — change the thickness for one row, keep the rest.
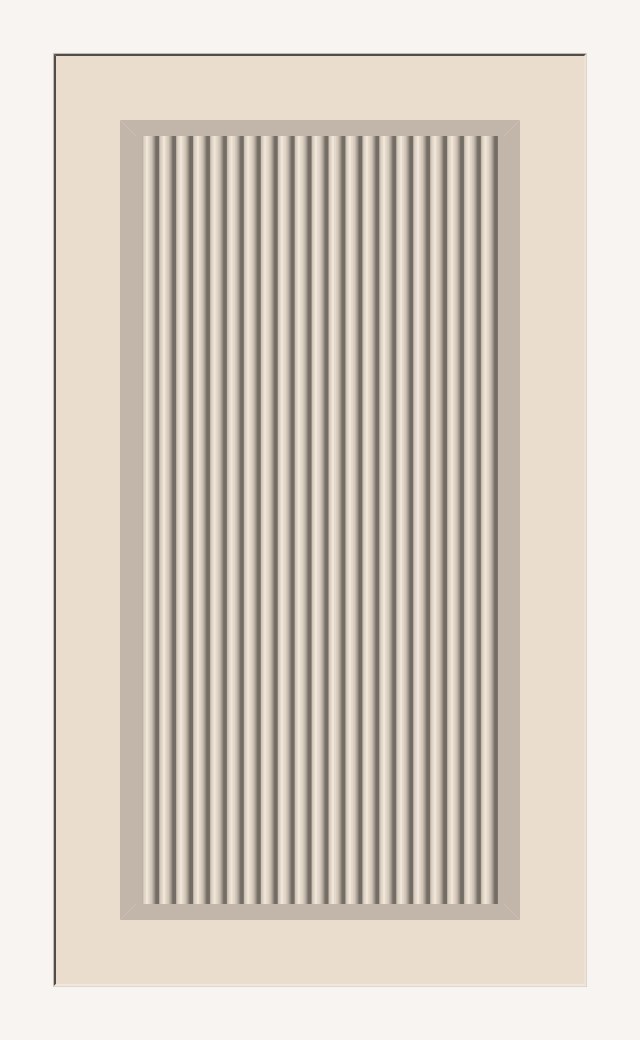
- 5Two ship as examples: Shaker-Reeded and Bevel-VGrooved.
Your own toolpaths
Tune a setup once. Every door of that design reuses it, at any size.
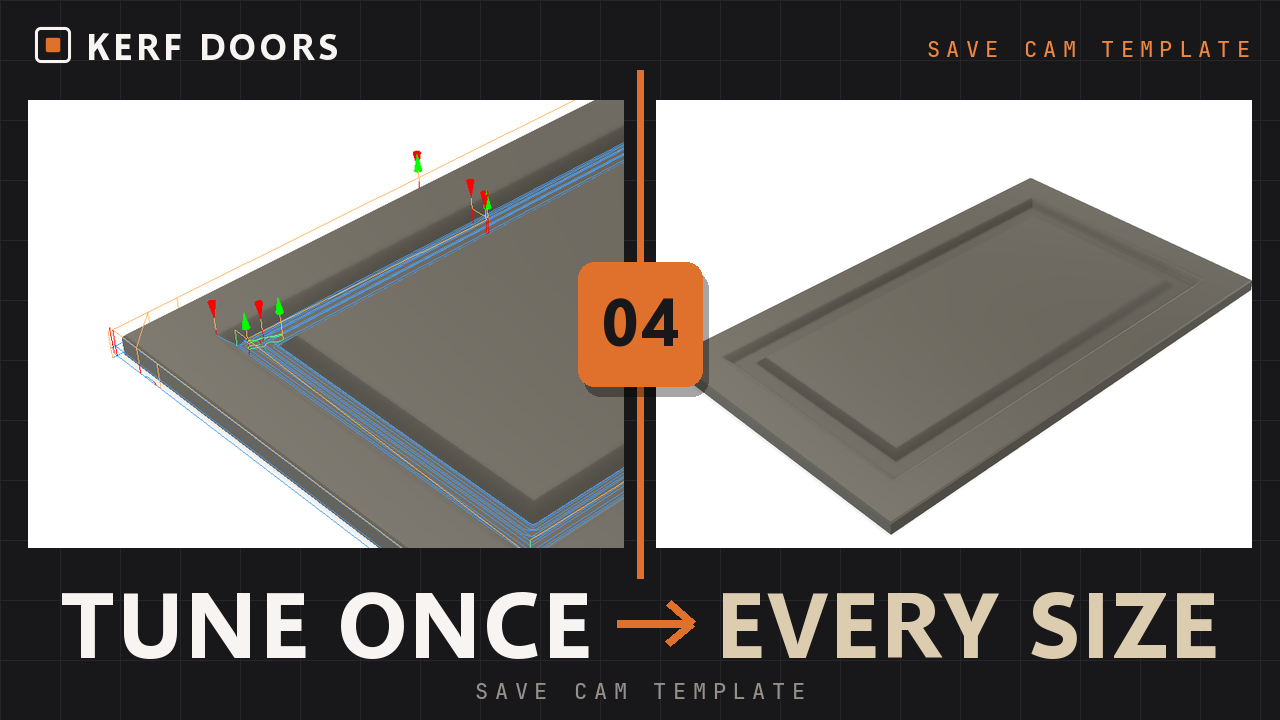
Watch tutorial 04: Save a CAM template (1:15)- 1Build a door with CAM, open it in Manufacture and tune the setup: tools, feeds, strategies, order.
- 2In Milling → Kerf Doors, click Save CAM Template. Pick the Setup and the Design, name it and note the tools and purpose.
- 3It records what each selection meant on the door — so far in from the groove path, the chamfer edges, the tabs — not Fusion entity ids.
- 4So it re-applies to any door size of that design. Choose it per order row, or make it the design's default.
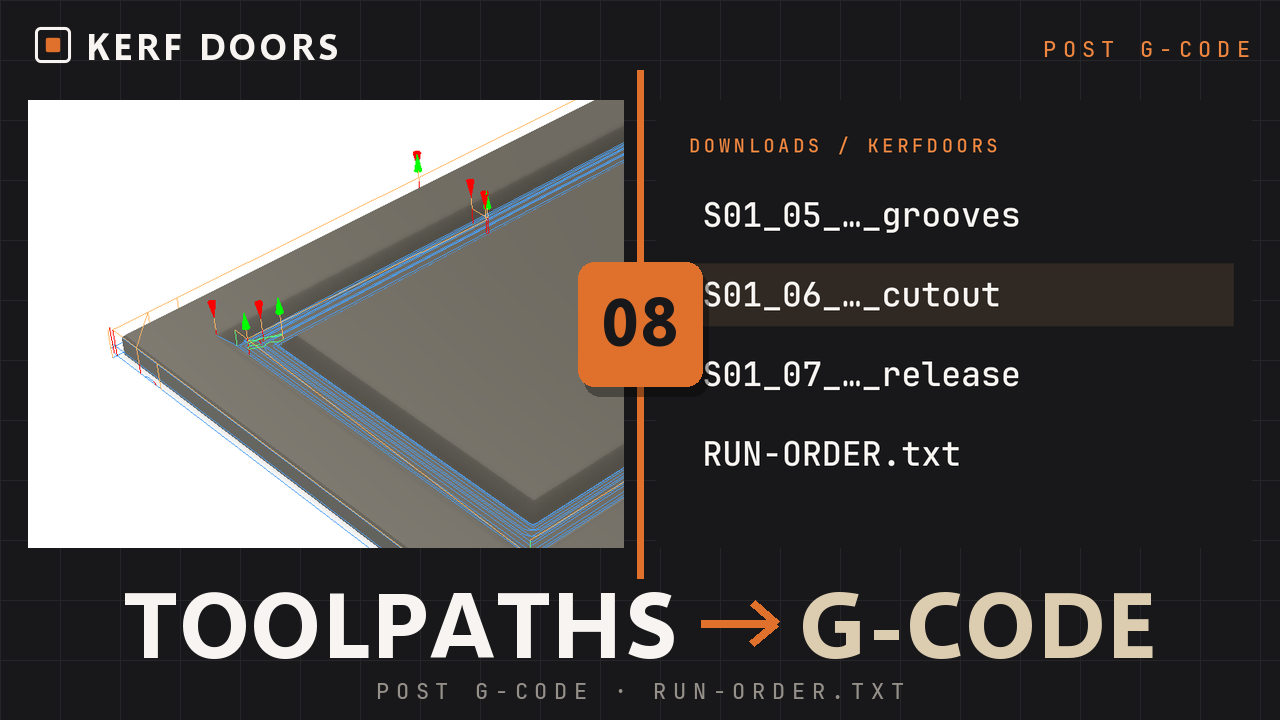
- 5Post with Post G-code: one file per tool per sheet, cutout and tab release in files of their own.
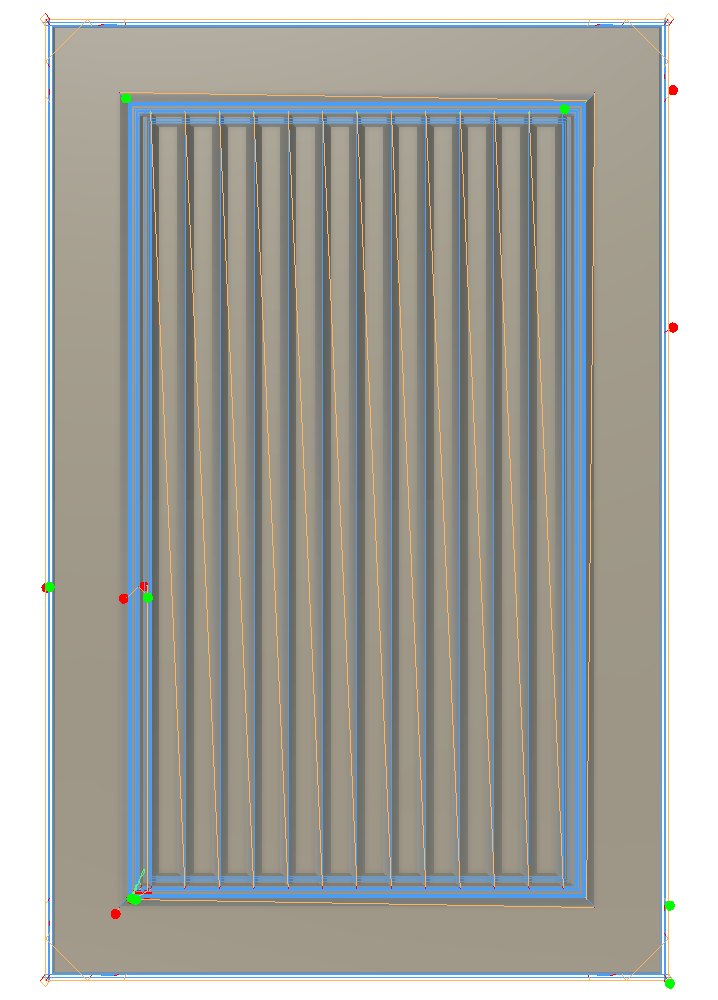
What a run leaves behind.
In the design
One component per sheet, named like Sheet 1 (1220 x 2440 x 18 mm), with a see-through board and its doors, named like 302-Boston 396x715 S1-3. The timeline groups each sheet.
In Manufacture
One setup per sheet with its toolpaths, and an NC program per output file in the NC Programs folder, named like the file.
On disk
S01_01_T…_grooves.nc … S01_07_T…_release.nc
RUN-ORDER.txt · S01_RUN-ORDER.txt
Documents/KerfDoors_Logs/ · KerfDoors_Settings/
CSV / Excel cheat sheet.
One row per door size. Profile takes a design or a recipe, built-in or your own. Only Profile, Width and Length are required. Saved orders are plain CSV.
Before you install.
Does it need the internet?
Not for the work itself. The only network call is the App Store licence check: once per Fusion session, then offline for a day. No analytics.
Inches?
Millimetres throughout. Trade inch names appear only where the trade uses them, like the 3/8 in frame-and-panel set.
Five-piece doors?
No. Kerf Doors makes one-piece routed MDF doors. Five-piece frame-and-panel joinery, hinge boring and hardware are not what it does.
Does it drive my router?
No. It writes G-code files through your own post processor; you run them on the machine as you do today.
Where do my files live?
On your computer, in Documents/KerfDoors_Settings: profiles, orders, templates, settings and licence. No cloud storage.
Which CAD?
Autodesk Fusion only, on Windows and macOS. English.
Ready for the first door?
Install Free, build one door, then open the Pro paths when the orders come in. Questions: support@kerf360.com